


Our Smart Slide templates are a great starting point for anyone who wants a professional-grade presentation but doesn’t have the design skills (or time) to back it up. The templates allow non-designers to plug and play so that their ideas can come to life seamlessly in minutes. Every presentation slide template is customizable, with endless variety and design options, so no two slides will look the same. This opens up some flexibility so that you can craft your message exactly the way you want.
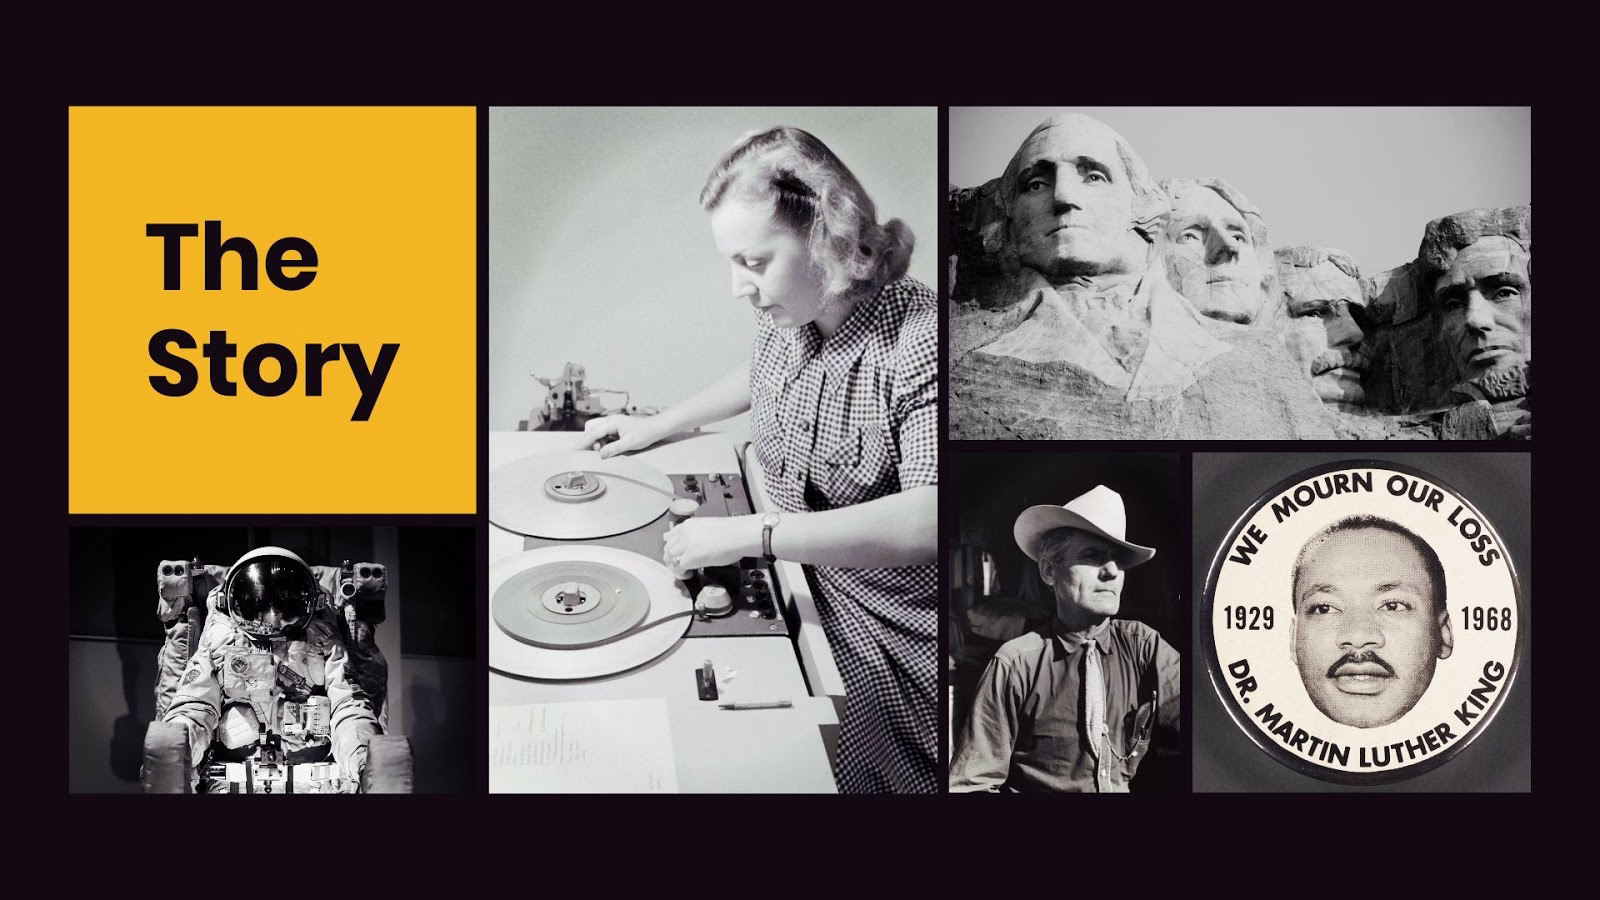
One of our most versatile templates is the photo grid slide template. It offers various fields so that you can display an assortment of content in one slide. Believe it or not, it’s not limited to just photos (plot twist), and leaves a lot of room for creative license. The photo grid template supports body text, icons and logos, lists, solid color blocks, headlines, and, of course, images.
While the combinations are endless, we realize that they might not be obvious to all of our users. To make your presentation process even easier, we’re breaking down our photo grid template step-by-step so that you can create a professionally designed slide without spending hours tinkering with the layout. Let’s get started!
Get to know the basics
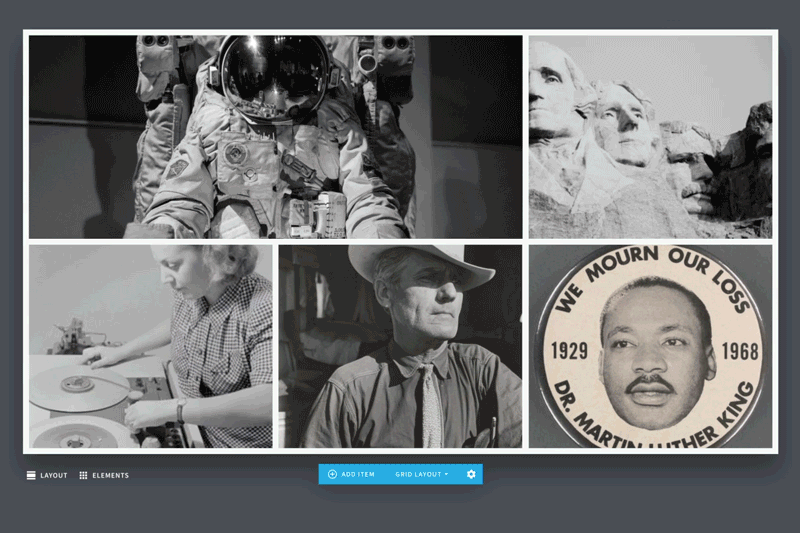
First, you’ll want to start with the default photo grid template and learn the basic ins and outs. Easy enough, right? Choose the template, then select the photo(s) from our free image library. If you want to add a personal or branded asset, you can also upload or drag and drop from your own files, use images from previous presentations, or add icons and logos in place of an image.
Add text
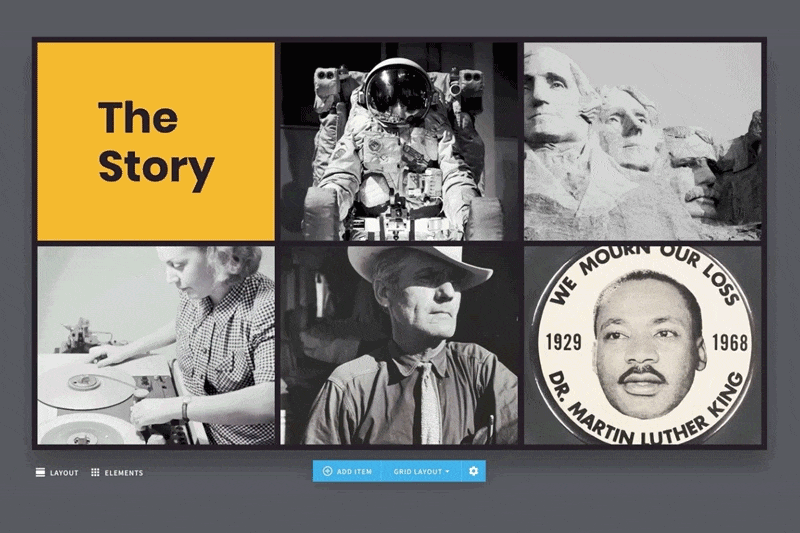
What we love about the image grid template is that it isn’t just limited to pictures. You can add icons or text to your slide to add color to your message, share a statistic, or introduce a new team member or product. Adding text instead of an image is simple.
- Click add item, and select the “Tt” instead of the camera
- Choose from the various text styles like a headline, a bulleted list, a divider or an icon. We suggest you mix and match text styles to best emphasize your message.
- If you’re layering text on top of an image, you can adjust the format for legibility by adding a white background, a transparent background, or adding drop shadow.
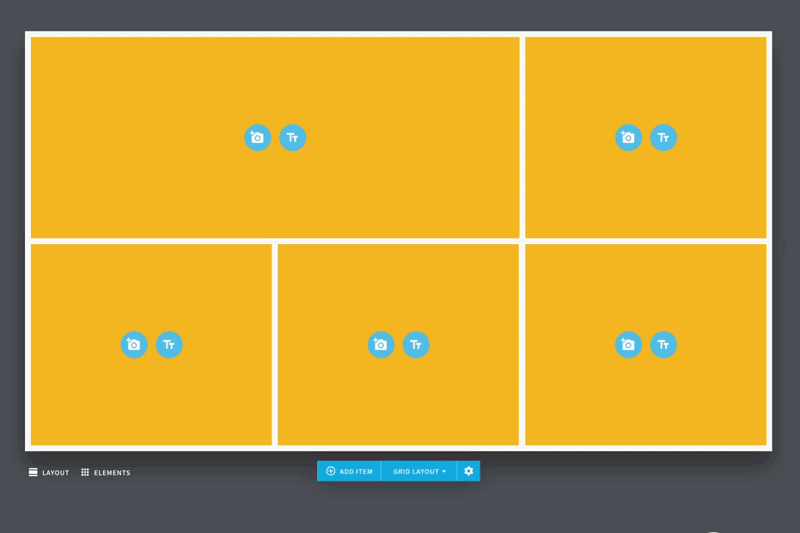
Customize the layout
Once you have filled in the content you can play around with the layout. Fidgeting with the menus is low stakes here because you can easily change anything back with the click of a button if you don’t like it. If you want to get creative this is a good place to experiment without having to re-do any of your work. You can quickly try out a few variations to see what you like, and what fits your content best.
By selecting the “grid layout” dropdown, or clicking the tool wheel, you can unlock:
- A fit or fill option for your image ratio, and full bleed option for the entire slide
- The ability to change the grid layout (or you can drag and drop the cells to rearrange them manually)
- An option to turn image gutters and box frames on or off
Try something different
Now that we’ve got the basics, let’s shake things up. Using the basic techniques and tools from above, you can create something a little different beyond just photos. For example, you can use the photo grid template to show off statistics like we did below. This could mean you rearrange the slide to fit any content, use a combination of text, numbers and imagery, or add as many or few cells as you need to round out your slide.

The layout
First thing’s first, let’s get the template set up. To recreate our slide layout, follow these four steps.
- Start with the photo grid, and choose how many cells you want. In this case we deleted two cells so that we were left with just three.
- Then choose your layout from the grid layout menu described above. Here we chose our cells to be displayed in three vertical columns.
- Next, place a photo in the first cell. This could be your product, a lifestyle shot, a headshot, or a graphic.
- Last, adjust the image as needed. To flip, resize, or add a filter to your image click the camera icon in the cell with the image and then choose “adjust image”.

Add statistics
Here’s where you tell your story.
In the next column we started with a title, and then added a bullet list of our value props (insert whatever your message may be here). You can add multiple text items in different styles by clicking the “plus” icon just below your initial text box with the ability to drag to rearrange them.
Our third column (or cell) is the headline text, which is where we listed our data. We added a caption below it (a brief description), followed by a line break (a space or divider), another headline (for a second piece of data), and a final caption. Once your text is final, you might want to change the background color to align with your theme. You can do so by clicking on the cell and selecting the square color block.
You can also choose to add an icon here— or replace the icon with a logo or photo— to have a small visual asset inline with your text. To do this simply select the “Tt” icon, choose the text style, click the “plus” sign and choose the icon option. From there you can browse our free library with thousands of icons, or click the camera button to replace the icon with an image or logo.
Once your content is set, you can play around with the slide settings mentioned above, like removing any gutters or frames based on your personal preference.

And there you have it: a professionally designed presentation slide using our photo grid template.
Ready to get started? Download our free presentation template here, which we built with 10 different variations of our photo grid slide. Play around with the settings, and get comfortable with the layouts, before you try to recreate one with your own content.


.gif)

.avif)
.gif)
